Introduction
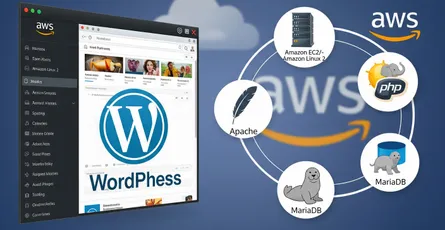
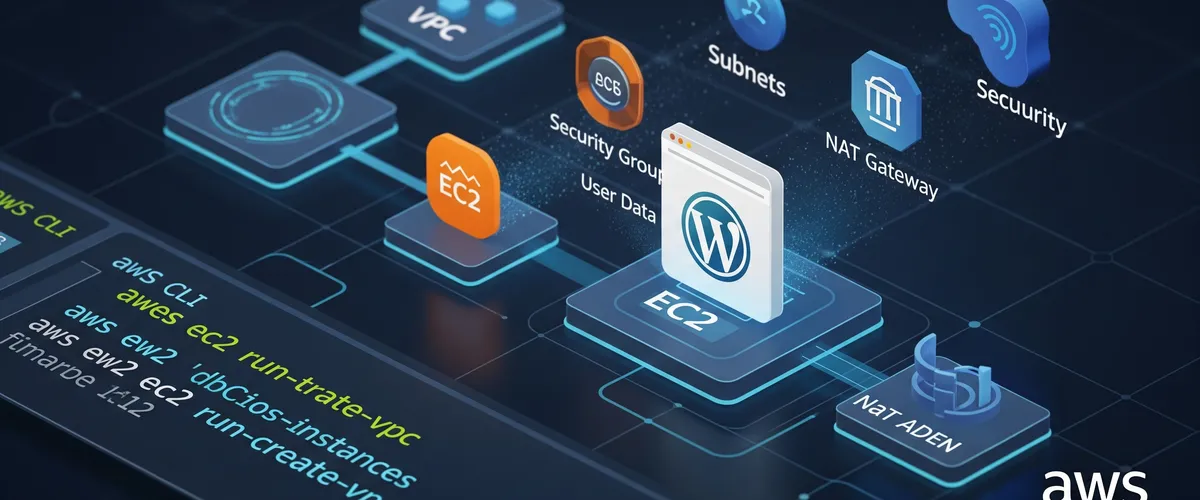
In this tutorial we will create an AWS EC2 instance with the AWS CLI. We will build the network around it first, then launch the instance with a user data script that installs the Apache web server and brings up a working WordPress site.
Prerequisites
To follow along with this tutorial, you will need:
- An AWS account.
- An AWS IAM user with the following permissions:
- AmazonEC2FullAccess
- AmazonVPCFullAccess
- An AWS CLI installed on your computer.
- An SSH client installed on your computer.
Create an AWS VPC
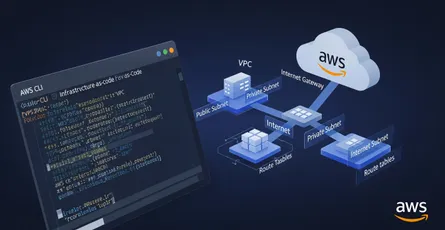
Before we create an AWS EC2 instance using AWS CLI, we need to create a VPC. We will also create a public and private subnet, an internet gateway, and a route table.
Create a VPC
To create a VPC, run the following command:
# Create a VPCAWS_VPC=$(aws ec2 create-vpc \--cidr-block 10.0.0.0/16 \--query 'Vpc.{VpcId:VpcId}' \--output text)
# Add a name tag to the VPCaws ec2 create-tags \--resources $AWS_VPC \--tags Key=Name,Value=DevOpsVPCModify your custom VPC to enable DNS hostname and DNS support
To modify your custom VPC and turn on both DNS hostname support and DNS support, run the following command:
# Enable DNS hostnamesaws ec2 modify-vpc-attribute \--vpc-id $AWS_VPC \--enable-dns-hostnames "{\"Value\":true}"
# Enable DNS supportaws ec2 modify-vpc-attribute \--vpc-id $AWS_VPC \--enable-dns-support "{\"Value\":true}"Create a public subnet
To create a public subnet, run the following command:
# Create a public subnetAWS_PUBLIC_SUBNET=$(aws ec2 create-subnet \--vpc-id $AWS_VPC \--cidr-block 10.0.1.0/24 \--availability-zone us-east-1a \--query 'Subnet.{SubnetId:SubnetId}' \--output text)
# Add a name tag to the public subnetaws ec2 create-tags \--resources $AWS_PUBLIC_SUBNET \--tags Key=Name,Value=DevOpsPublicSubnetCreate a private subnet
To create a private subnet, run the following command:
# create a private subnetAWS_PRIVATE_SUBNET=$(aws ec2 create-subnet \--vpc-id $AWS_VPC \--cidr-block 10.0.2.0/24 \--availability-zone us-east-1a \--query 'Subnet.{SubnetId:SubnetId}' \--output text)
# Add a name tag to the private subnetaws ec2 create-tags \--resources $AWS_PRIVATE_SUBNET \--tags Key=Name,Value=DevOpsPrivateSubnetEnable auto-assign public IP on the subnet
To enable auto-assign public IP on the subnet, run the following command:
# Enable auto-assign public IP on the public subnetaws ec2 modify-subnet-attribute \--subnet-id $AWS_PUBLIC_SUBNET \--map-public-ip-on-launchCreate an internet gateway
To create an internet gateway, run the following command:
AWS_INTERNET_GATEWAY=$(aws ec2 create-internet-gateway \--query 'InternetGateway.{InternetGatewayId:InternetGatewayId}' \--output text)
# Add a name tag to the Internet Gatewayaws ec2 create-tags \--resources $AWS_INTERNET_GATEWAY \--tags Key=Name,Value=DevOpsInternetGatewayCreate a NAT gateway
To create a NAT gateway, run the following command:
# Get Elastic IPAWS_ELASTIC_IP=$(aws ec2 allocate-address \--domain vpc \--query 'AllocationId' \--output text)
# Create a NAT gatewayAWS_NAT_GATEWAY=$(aws ec2 create-nat-gateway \--subnet-id $AWS_PUBLIC_SUBNET \--allocation-id $AWS_ELASTIC_IP \--query 'NatGateway.{NatGatewayId:NatGatewayId}' \--output text)
# Add a name tag to the NAT gatewayaws ec2 create-tags \--resources $AWS_NAT_GATEWAY \--tags Key=Name,Value=DevOpsNATGatewayAttach the internet gateway to your VPC
To attach the internet gateway to your VPC, run the following command:
# Attach the Internet gateway to your VPCaws ec2 attach-internet-gateway \--vpc-id $AWS_VPC \--internet-gateway-id $AWS_INTERNET_GATEWAY \--query 'InternetGateway.{InternetGatewayId:InternetGatewayId}' \--output textCreate a custom route table
To create a route table, run the following command:
# Create a custom route tableAWS_ROUTE_TABLE=$(aws ec2 create-route-table \--vpc-id $AWS_VPC \--query 'RouteTable.{RouteTableId:RouteTableId}' \--output text)
# Add a name tag to the route tableaws ec2 create-tags \--resources $AWS_ROUTE_TABLE \--tags Key=Name,Value=DevOpsRouteTableCreate a custom route table association
To create a custom route table association, run the following command:
# Create a custom route table associationaws ec2 associate-route-table \--route-table-id $AWS_ROUTE_TABLE \--subnet-id $AWS_PUBLIC_SUBNET \--output textAssociate the subnet with route table, making it a public subnet
To associate the subnet with route table, making it a public subnet, run the following command:
# Associate the subnet with route table, making it a public subnetaws ec2 create-route \--route-table-id $AWS_ROUTE_TABLE \--destination-cidr-block 0.0.0.0/0 \--gateway-id $AWS_INTERNET_GATEWAY \--output textAssociate the NAT gateway with the route table, making it a private subnet
To associate the NAT gateway with the route table, making it a private subnet, run the following command:
# Associate the NAT gateway with the route table, making it a private subnetaws ec2 create-route \--route-table-id $AWS_ROUTE_TABLE \--destination-cidr-block 10.2.0.0/24 \--nat-gateway-id $AWS_NAT_GATEWAY \--output textCreate a security group
To create a security group, run the following command:
# Create a security groupAWS_SECURITY_GROUP=$(aws ec2 create-security-group \--group-name DevOpsSG \--description "DevOps Security Group" \--vpc-id $AWS_VPC \--query 'GroupId' \--output text)
# Add a name tag to the security groupaws ec2 create-tags \--resources $AWS_SECURITY_GROUP \--tags Key=Name,Value=DevOpsSGAdd a rule to the security group
To add a rule to the security group, run the following command:
# Add a rule to the security group
# Add SSH ruleaws ec2 authorize-security-group-ingress \--group-id $AWS_SECURITY_GROUP \--protocol tcp \--port 22 \--cidr 0.0.0.0/0 \--output text
# Add HTTP ruleaws ec2 authorize-security-group-ingress \--group-id $AWS_SECURITY_GROUP \--protocol tcp \--port 80 \--cidr 0.0.0.0/0 \--output textCreate an AWS EC2 instance
Get the latest AMI ID
To get the latest AMI ID, run the following command:
# Get the latest AMI IDAWS_AMI=$(aws ec2 describe-images \ --owners 'amazon' \ --filters 'Name=name,Values=amzn2-ami-hvm-2.0.*' \ 'Name=state,Values=available' \ --query 'sort_by(Images, &CreationDate)[-1].[ImageId]' \ --output 'text')Create a key pair
To create a key pair, run the following command:
# Create a key pairaws ec2 create-key-pair \--key-name DevOpsKeyPair \--query 'KeyMaterial' \--output text > DevOpsKeyPair.pem
# Change the permission of the key pairchmod 400 DevOpsKeyPair.pemCreate an EC2 instance
Before creating an EC2 instance, you need to create a user data script. That script automates the previous three blog posts:
- How to Install Apache Web Server on Amazon Linux 2
- How to Install PHP and MariaDB on Amazon Linux 2
- How to Install and Setup FireWall on Amazon Linux 2
You can find the user data script in the GitHub repository
# Create a bash script to update packages, install git and clone the repo, and run the scriptcat <<EOF > install.sh#!/bin/bash
# Update packagessudo yum update -y
# Install gitsudo yum install git -y
# Clone the repogit clone https://github.com/MKAbuMattar/install-and-setup-wordpress-on-amazon-linux-2.git
# Run the scriptbash install-and-setup-wordpress-on-amazon-linux-2/script.sh mkabumattar 121612 121612 wordpressdb wordpressuser passwordEOFTo create an EC2 instance, run the following command:
# Create an EC2 instanceAWS_EC2_INSTANCE=$(aws ec2 run-instances \--image-id $AWS_AMI \--instance-type t2.micro \--key-name DevOpsKeyPair \--monitoring "Enabled=false" \--security-group-ids $AWS_SECURITY_GROUP \--subnet-id $AWS_PUBLIC_SUBNET \--user-data file://install.sh \--private-ip-address 10.0.1.10 \--query 'Instances[0].InstanceId' \--output text)
# Add a name tag to the EC2 instanceaws ec2 create-tags \--resources $AWS_EC2_INSTANCE \--tags "Key=Name,Value=DevOpsInstance"Check the status of the EC2 instance
To check the status of the EC2 instance, run the following command:
# Check the status of the EC2 instanceaws ec2 describe-instances \--instance-ids $AWS_EC2_INSTANCE \--query 'Reservations[*].Instances[*].[InstanceId,State.Name,PublicIpAddress]' \--output textGet the public IP address of your instance
To get the public IP address of your instance, run the following command:
# Get the public ip address of your instanceAWS_PUBLIC_IP=$(aws ec2 describe-instances \--instance-ids $AWS_EC2_INSTANCE \--query 'Reservations[*].Instances[*].[PublicIpAddress]' \--output text)
echo $AWS_PUBLIC_IPSSH into the EC2 instance
To SSH into the EC2 instance, run the following command:
# SSH into the EC2 instancessh -i DevOpsKeyPair.pem ec2-user@$AWS_PUBLIC_IPShow the WordPress website
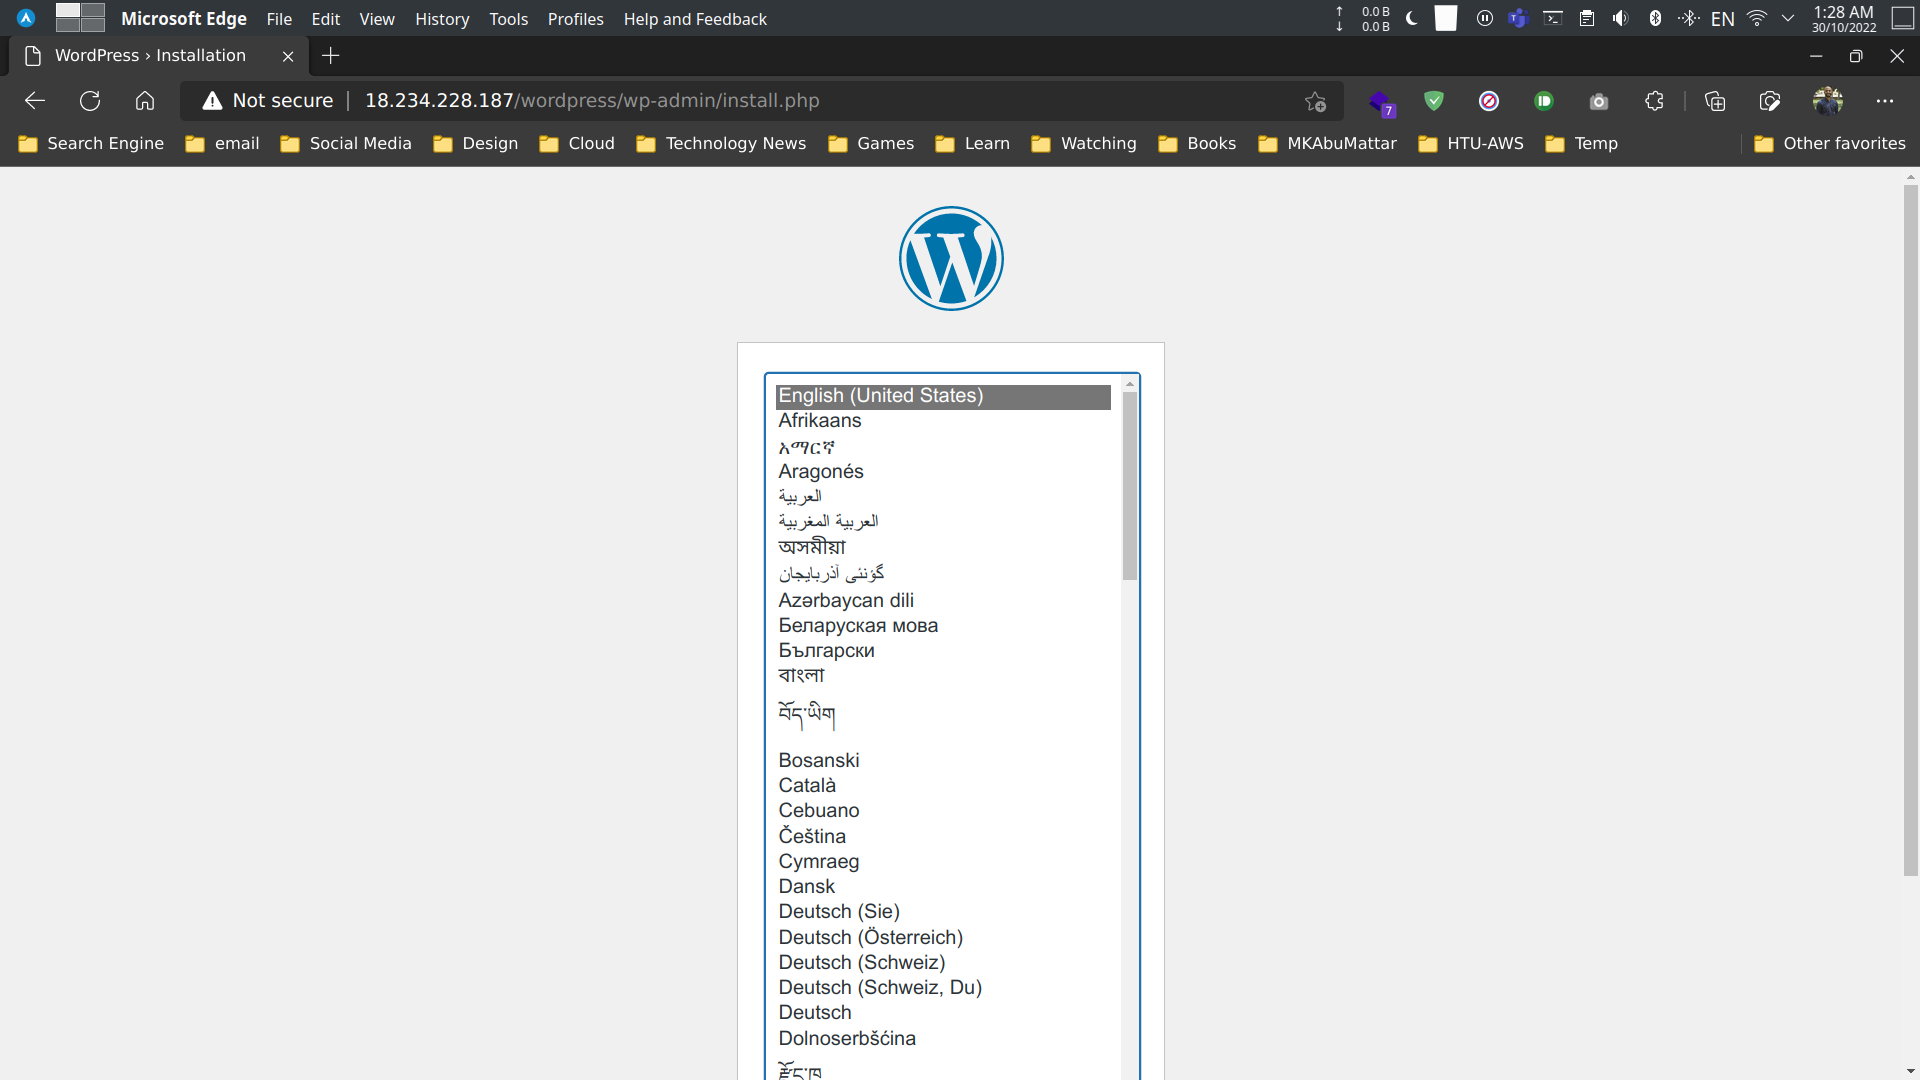
Conclusion
In this blog post, you learned how to create a VPC, a public subnet, a private subnet, a NAT gateway, a route table, a security group, and an EC2 instance. You also learned how to SSH into the EC2 instance.
References
- AWS CLI Command Reference - EC2
- AWS CLI Command Reference -
ec2 create-vpc - AWS CLI Command Reference -
ec2 create-subnet - AWS CLI Command Reference -
ec2 create-internet-gateway - AWS CLI Command Reference -
ec2 create-nat-gateway - AWS CLI Command Reference -
ec2 create-route-table - AWS CLI Command Reference -
ec2 create-security-group - AWS CLI Command Reference -
ec2 run-instances - AWS CLI Command Reference -
ec2 create-key-pair - Amazon EC2 User Guide for Linux Instances - User Data
- Amazon VPC User Guide
- WordPress Official Website
- Tutorial: Installing a LAMP Web Server on Amazon Linux 2
- GitHub Repository for User Data Script
- AWS Identity and Access Management (IAM) User Guide