Introduction
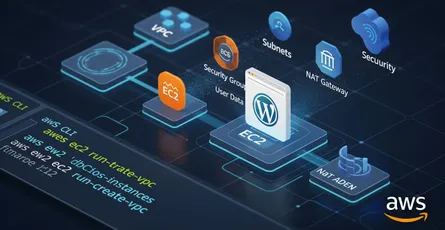
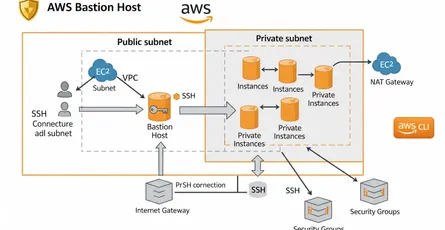
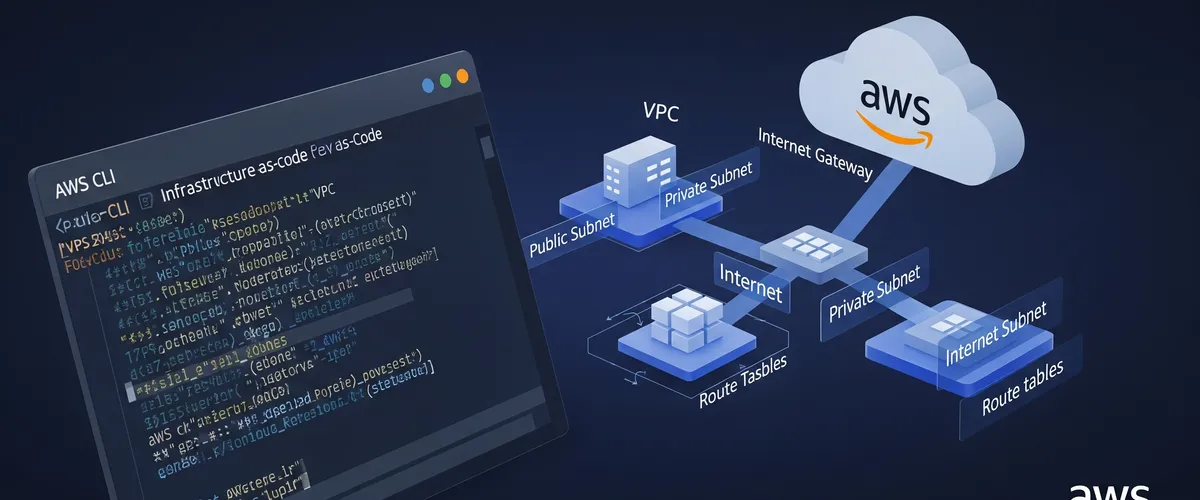
The example below creates a VPC with an IPv4 CIDR block, a public subnet, and a private subnet, all with AWS CLI commands. Once the VPC and subnets are configured, you can run an instance in the public subnet and connect to it. You can also start an instance in the private subnet and reach it from the instance on the public one.
Prerequisites
- AWS CLI
- AWS Account
Configure AWS CLI: aws configure
# Configure AWS CLI
aws configure
#AWS Access Key ID [None]: # Enter your access key here#AWS Secret Access Key [None]: # Enter your secret key here#Default region name [None]: # Enter your region here#Default output format [None]: # Enter your output format hereCreate a VPC
# Get help for aws commands
aws help
# aws [COMMAND] [SUB-COMMAND] help
aws ec2 create-vpc help
# Create a VPC
AWS_VPC_INFO=$(aws ec2 create-vpc \--cidr-block 10.0.0.0/16 \--query 'Vpc.{VpcId:VpcId}' \--output text)Modify your custom VPC and enable DNS hostname support
# Modify your custom VPC and enable DNS hostname support
aws ec2 modify-vpc-attribute \--vpc-id $AWS_VPC_INFO \--enable-dns-hostnames "{\"Value\":true}"Create a public subnet
Note
Availability zones: us-east-1a, us-east-1b, us-east-1c, us-east-1d,
us-east-1e, us-east-1f.
# Create a public subnet
AWS_SUBNET_PUBLIC=$(aws ec2 create-subnet \--vpc-id $AWS_VPC_INFO --cidr-block 10.0.1.0/24 \--availability-zone us-east-1a --query 'Subnet.{SubnetId:SubnetId}' \--output text)Enable Auto-assign Public IP on the subnet
# Enable Auto-assign Public IP on the subnet
aws ec2 modify-subnet-attribute \--subnet-id $AWS_SUBNET_PUBLIC \--map-public-ip-on-launchCreate an internet gateway
# Create an Internet Gateway
AWS_INTERNET_GATEWAY=$(aws ec2 create-internet-gateway \--query 'InternetGateway.{InternetGatewayId:InternetGatewayId}' \--output text)Attach the internet gateway to your VPC
# Attach the Internet gateway to your VPC
aws ec2 attach-internet-gateway \--vpc-id $AWS_VPC_INFO \--internet-gateway-id $AWS_INTERNET_GATEWAYCreate a custom route table
# Create a custom route table
AWS_CUSTOM_ROUTE_TABLE=$(aws ec2 create-route-table \--vpc-id $AWS_VPC_INFO \--query 'RouteTable.{RouteTableId:RouteTableId}' \--output text )Associate the subnet with the route table to make it public
# Associate the subnet with route table, making it a public subnet
AWS_ROUTE_TABLE_ASSOCITATION=$(aws ec2 associate-route-table \--subnet-id $AWS_SUBNET_PUBLIC \--route-table-id $AWS_CUSTOM_ROUTE_TABLE \--output text)Get security group IDs
# Get security group ID’s
AWS_DEFAULT_SECURITY_GROUP=$(aws ec2 describe-security-groups \--filters "Name=vpc-id,Values=$AWS_VPC_INFO" \--query 'SecurityGroups[?GroupName == `default`].GroupId' \--output text)
AWS_CUSTOM_SECURITY_GROUP=$(aws ec2 describe-security-groups \--filters "Name=vpc-id,Values=$AWS_VPC_INFO" \--query 'SecurityGroups[?GroupName == `vpc-cli-lab-security-group`].GroupId' \--output text)Add tags to the resources in your VPC
# Add tags to the resources in your VPC
# Add a tag to the VPC
aws ec2 create-tags \--resources $AWS_VPC_INFO \--tags "Key=Name,Value=vpc-cli-lab"
# Add a tag to public subnet
aws ec2 create-tags \--resources $AWS_SUBNET_PUBLIC \--tags "Key=Name,Value=vpc-cli-lab-public-subnet"
# Add a tag to the Internet-Gateway
aws ec2 create-tags \--resources $AWS_INTERNET_GATEWAY \--tags "Key=Name,Value=vpc-cli-lab-internet-gateway"
# Add a tag to the default route table
AWS_DEFAULT_ROUTE_TABLE=$(aws ec2 describe-route-tables \--filters "Name=vpc-id,Values=$AWS_VPC_INFO" \--query 'RouteTables[?Associations[0].Main != `flase`].RouteTableId' \--output text)
aws ec2 create-tags \--resources $AWS_DEFAULT_ROUTE_TABLE \--tags "Key=Name,Value=vpc-cli-lab-default-route-table"
# Add a tag to the public route table
aws ec2 create-tags \--resources $AWS_CUSTOM_ROUTE_TABLE \--tags "Key=Name,Value=vpc-cli-lab-public-route-table"
# Add a tags to security groups
aws ec2 create-tags \--resources $AWS_CUSTOM_SECURITY_GROUP \--tags "Key=Name,Value=vpc-cli-lab-security-group"
aws ec2 create-tags \--resources $AWS_DEFAULT_SECURITY_GROUP \--tags "Key=Name,Value=vpc-cli-lab-default-security-group"Delete the VPC (cleanup)
# Delete custom security group
aws ec2 delete-security-group \--group-id $AWS_CUSTOM_SECURITY_GROUP
# Delete internet gatewayaws ec2 detach-internet-gateway \--internet-gateway-id $AWS_INTERNET_GATEWAY \--vpc-id $AWS_VPC_INFO
aws ec2 delete-internet-gateway \--internet-gateway-id $AWS_INTERNET_GATEWAY
# Delete the custom route table
aws ec2 disassociate-route-table \--association-id $AWS_ROUTE_TABLE_ASSOCITATION
aws ec2 delete-route-table \--route-table-id $AWS_CUSTOM_ROUTE_TABLE
# Delete the public subnet
aws ec2 delete-subnet \--subnet-id $AWS_SUBNET_PUBLIC
# Delete the vpc
aws ec2 delete-vpc \--vpc-id $AWS_VPC_INFOReferences
- AWS CLI User Guide - Getting Started
- AWS CLI User Guide - Configuring the AWS CLI
- AWS CLI Command Reference -
ec2 create-vpc - AWS CLI Command Reference -
ec2 modify-vpc-attribute - AWS CLI Command Reference -
ec2 create-subnet - AWS CLI Command Reference -
ec2 modify-subnet-attribute - AWS CLI Command Reference -
ec2 create-internet-gateway - AWS CLI Command Reference -
ec2 attach-internet-gateway - AWS CLI Command Reference -
ec2 create-route-table - AWS CLI Command Reference -
ec2 associate-route-table - AWS CLI Command Reference -
ec2 describe-security-groups - AWS CLI Command Reference -
ec2 create-tags - AWS CLI Command Reference -
ec2 delete-security-group - AWS CLI Command Reference -
ec2 detach-internet-gateway - AWS CLI Command Reference -
ec2 delete-vpc