Introduction
Managing application state well can make or break a React project. React offers several options for state management, and the Context API is one of the most flexible. But what exactly is the React Context API, and how does it differ from Redux, another popular state management library? This post covers both questions, along with the capabilities and limitations of the React Context API.
What is Context API in React?
Understanding the fundamentals of Context API
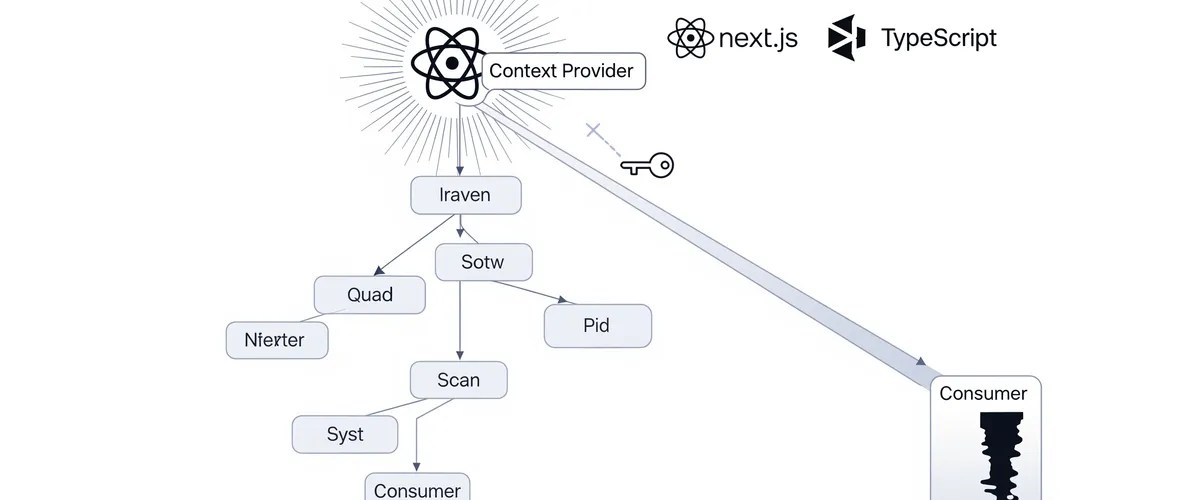
The React Context API arrived in React 16.3. It gives you a way to share data between components without manually passing props through every level of the component tree. That matters most when deeply nested components need shared data, like user authentication status, application themes, or language preferences.
The Context API is built on two core components:
<Provider>: This component makes data available to all descendant components. It accepts a value prop, which can be any data type you want to share, including objects or functions.<Consumer>: The Consumer component reads the data provided by the nearest<Provider>in the component hierarchy.
Data shared through Context API looks like props, but it is available globally within the context. Any component that needs it can read it directly, with no explicit prop passing from parent to child.
When should you use Context API?
You might be wondering why Context API should be your choice over traditional prop-passing. There are several situations where it earns its place:
- Eliminating prop drilling: In large, deeply nested component trees, manually passing props down multiple levels gets unwieldy and error-prone. Context API gives you one place to manage shared data instead.
- Global state management: When your application needs to read and change data from several places, Context API lets you set up a global state that’s easy to maintain and update.
- Themes and localization: Context API is a good fit for themes, user preferences, and localization settings, since those are usually needed in several sections of your application.
- Authentication: If you need to retain user authentication status and make it accessible to different parts of your application, Context API offers an effective solution.
Building a simple state management system with Context API
Creating a new Next.js project
To demonstrate the capabilities of Context API, we’ll build a simple state management system using Next.js. First, let’s create a new Next.js project by running the following command:
# npmnpx create-next-app next-context-api
# yarnyarn create next-app next-context-api
# pnpmpnpx create-next-app next-context-apiNext, the command-line interface will prompt you to select a template for your project. For this tutorial, we’ll choose TypeScript as our preferred option.
? Would you like to use TypeScript? › No / Yes # Yes? Would you like to use ESLint? › No / Yes # Yes? Would you like to use Tailwind CSS? › No / Yes # Yes? Would you like to use `src/` directory? › No / Yes # Yes? Would you like to use App Router? (recommended) › No / Yes # Yes? Would you like to customize the default import alias (@/*)? › No / Yes # Yes? What import alias would you like configured? › @/* # keep the defaultWe’ll also install one additional dependency:
# npmnpm install --save-dev prettier prettier-plugin-tailwindcss
# yarnyarn add --D prettier prettier-plugin-tailwindcss
# pnpmpnpm add --save-dev prettier prettier-plugin-tailwindcssOnce the project is created, navigate to the project directory and start the development server by running the following command:
# npmnpm run dev
# yarnyarn dev
# pnpmpnpm devCleaning up the project and organizing the file structure
Next, let’s clean up the project by removing the default files and folders that we won’t be using. We’ll also create a new folder structure to organize our project files.
Root├── src│ ├── app│ │ ├── layout.tsx│ │ └── page.tsx│ ├── assets│ │ ├── icons│ │ │ └── favicon.ico│ │ └── styles│ │ └── globals.css│ ├── components│ │ ├── shared-state-child│ │ │ └── index.tsx│ │ ├── shared-state-grand-child│ │ │ └── index.tsx│ │ ├── shared-state-sibling│ │ │ └── index.tsx│ │ index.ts│ └── providers│ └── use-provider.tsx├── .eslintrc.cjs├── .gitignore├── .npmrc├── .nvmrc├── .prettierrc.cjs├── .yarnrc├── next.config.mjs├── package.json├── postcss.config.cjs├── README.md├── tailwind.config.ts├── tsconfig.json└── yarn.lockNote
You can find the starter code for this project on Starter Code branch.
Creating a custom provider for Context API
Now, let’s create a custom provider for our Context API. First, we’ll create a new file called use-provider.tsx inside the providers folder. Then, we’ll add the following code to this file:
'use client';
import React, { type ReactNode, type Context, createContext, useContext, useState,} from 'react';
const initialContext = <T,>() => new Map<string, T>();const Context = createContext(initialContext());
type ProviderProps = { children: ReactNode;};
export const Provider = ({children}: ProviderProps) => ( <Context.Provider value={initialContext()}>{children}</Context.Provider>);
const useContextProvider = <T,>(key: string) => { const context = useContext(Context); return { set value(v: T) { context.set(key, v); }, get value() { if (!context.has(key)) { throw Error(`Context key '${key}' Not Found!`); } return context.get(key) as T; }, };};
export const useProvider = <T,>(key: string, initialValue?: T) => { const provider = useContextProvider<Context<T>>(key); if (initialValue !== undefined) { const Context = createContext<T>(initialValue); provider.value = Context; } return useContext(provider.value);};
export const useSharedState = <T,>(key: string, initialValue?: T) => { let state = undefined; if (initialValue !== undefined) { const _useState = useState; state = _useState(initialValue); } return useProvider(key, state);};Let’s walk through the code above to see how it works. First, we create a new context using the createContext function. Then, we create a custom hook called useProvider that accepts two arguments: key and initialValue. The key argument is used to identify the context, while the initialValue argument is used to set the initial value of the context. Next, we create a custom hook called useSharedState that accepts the same arguments as the useProvider hook. This hook is used to create a shared state that can be accessed and modified by multiple components.
Using the custom provider in the application
Now, let’s use the custom provider we created in the previous step in our application. First, we’ll import the Provider component from the use-provider.tsx file. Then, we’ll wrap the Layout component with the Provider component. Finally, we’ll add the following code to the Layout component:
import '@/assets/styles/globals.css';// Context APIimport {Provider} from '@/provider/use-provider';import type {Metadata} from 'next';import {Inter} from 'next/font/google';import React, {type ReactNode} from 'react';
const inter = Inter({subsets: ['latin']});
export const metadata: Metadata = { title: 'Next.js Context API', description: 'Next.js Context API example with TypeScript to manage state.',};
type RootLayoutProps = { children: ReactNode;};
export default function RootLayout({children}: RootLayoutProps) { return ( <html lang={'en'}> <Provider> <body className={inter.className}>{children}</body> </Provider> </html> );}Creating a shared state
Now, let’s create a shared state using the useSharedState hook. First, we’ll create a new file called index.tsx inside the components/shared-state-child folder. Then, we’ll add the following code to this file:
'use client';
// componentsimport {SharedStateGrandChild} from '@/components';// Context APIimport {useSharedState} from '@/provider/use-provider';import React, {Fragment} from 'react';
export const SharedStateChild = () => { const [count] = useSharedState<number>('count');
return ( <Fragment> <p className={'text-center text-xl font-semibold'}> Shared State Child: {count} </p> <SharedStateGrandChild /> </Fragment> );};
export default SharedStateChild;Next, we’ll create a new file called index.tsx inside the components/shared-state-grand-child folder. Then, we’ll add the following code to this file:
'use client';
// Context APIimport {useSharedState} from '@/provider/use-provider';import React, {Fragment} from 'react';
export const SharedStateGrandChild = () => { const [count] = useSharedState<number>('count');
return ( <Fragment> <p className={'text-center text-xl font-semibold'}> Shared State Grand Child: {count} </p> </Fragment> );};
export default SharedStateGrandChild;Finally, we’ll create a new file called index.tsx inside the components/shared-state-sibling folder. Then, we’ll add the following code to this file:
'use client';
// Context APIimport {useSharedState} from '@/provider/use-provider';import React, {Fragment} from 'react';
export const SharedStateSibling = () => { const [count] = useSharedState<number>('count');
return ( <Fragment> <p className={'text-center text-xl font-semibold'}> Shared State Sibling: {count} </p> </Fragment> );};
export default SharedStateSibling;Creating a index.ts file inside the components folder and adding the following code to it:
export {default as SharedStateChild} from '@/components/shared-state-child';export {default as SharedStateGrandChild} from '@/components/shared-state-grand-child';export {default as SharedStateSibling} from '@/components/shared-state-sibling';Updating the shared state from the parent component or page
Now, let’s update the shared state from the parent component. First, we’ll create a new file called index.tsx inside the app folder. Then, we’ll add the following code to this file:
'use client';
// Context API// componentsimport {SharedStateChild, SharedStateSibling} from '@/components';import {useSharedState} from '@/provider/use-provider';
export default function Home() { const [_, setCount] = useSharedState<number>('count', 0);
const increment = () => setCount((prev) => prev + 1); const decrement = () => setCount((prev) => prev - 1); const reset = () => setCount(0);
return ( <main className={'flex h-screen flex-col items-center justify-center'}> <h1 className={'text-center text-4xl font-bold'}>Next.js Context API</h1>
<p className={'text-center text-xl font-semibold'}> Count Example with Context API and TypeScript </p>
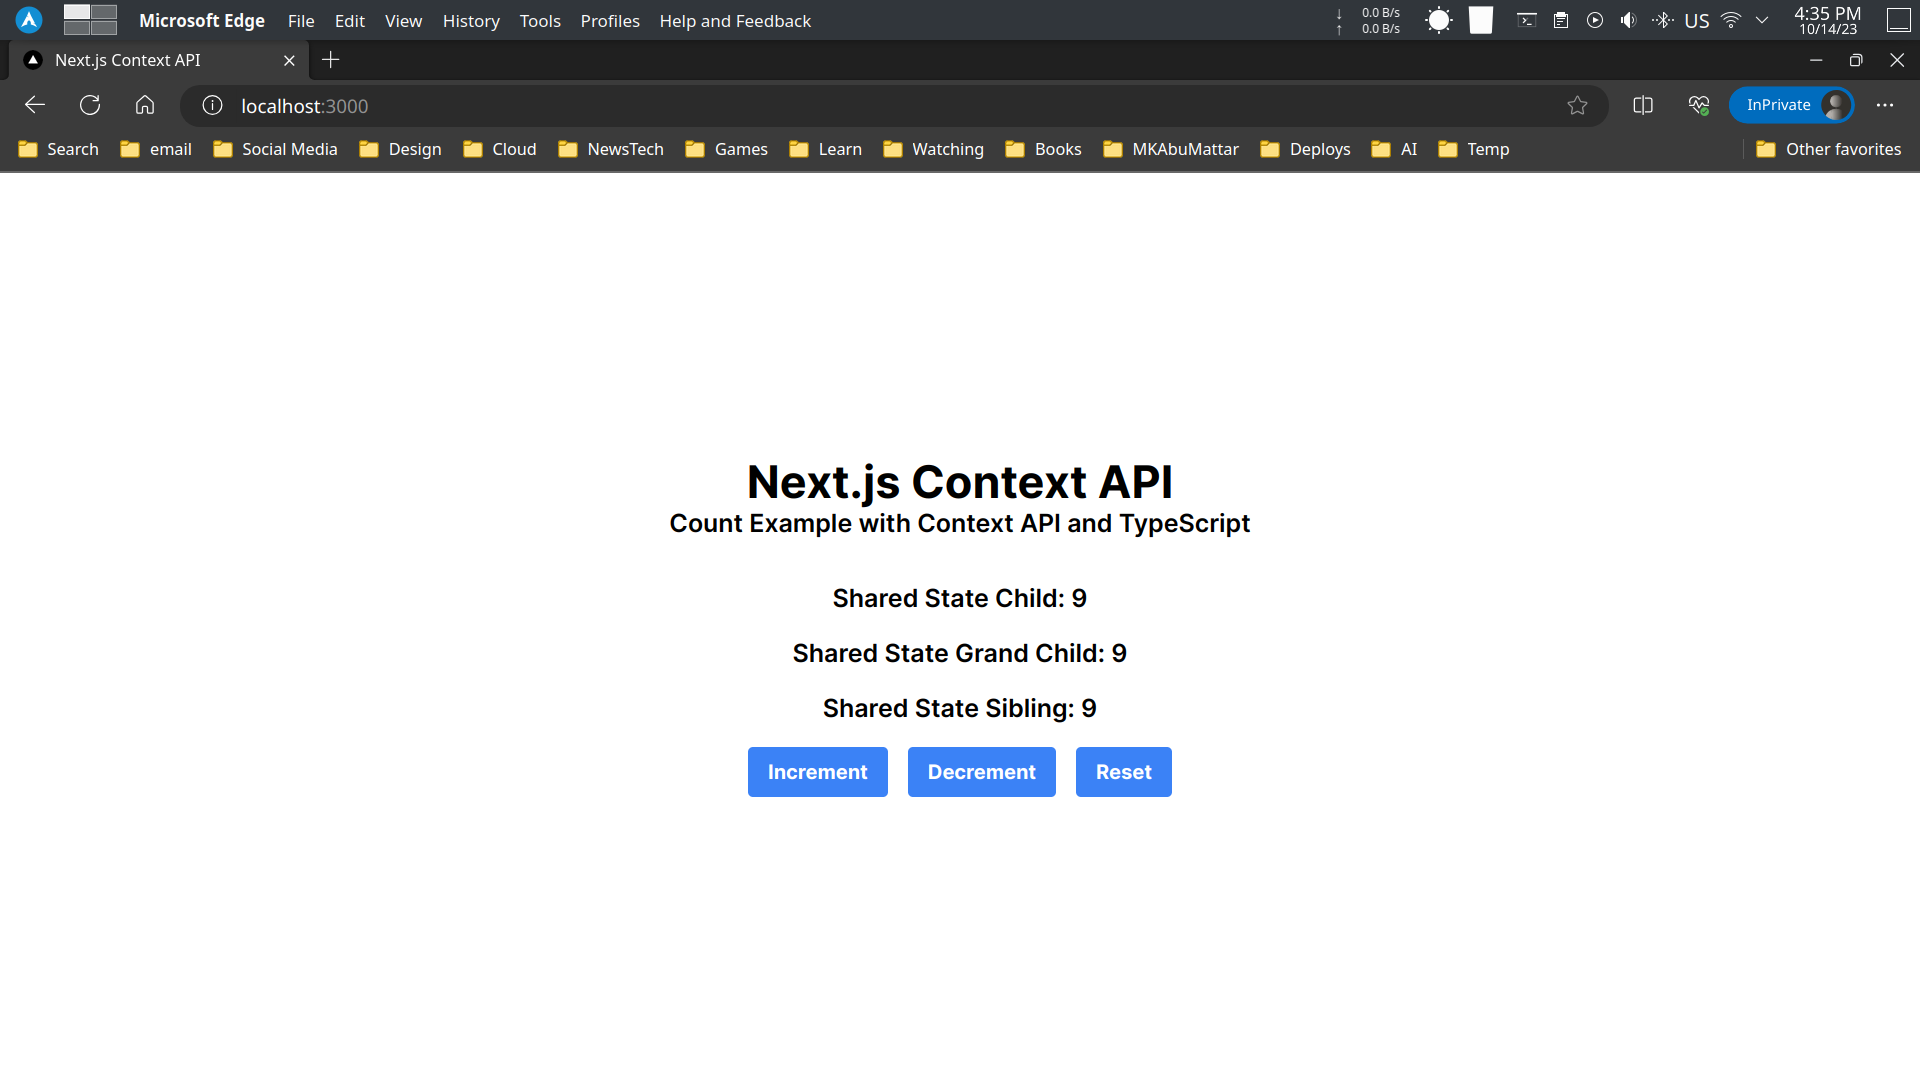
<div className={'mt-8 flex flex-col items-center justify-center gap-4'}> <SharedStateChild /> <SharedStateSibling /> <div className={'flex flex-row items-center justify-center gap-4'}> <button type={'button'} className={ 'rounded bg-blue-500 px-4 py-2 font-bold text-white hover:bg-blue-700' } onClick={increment} > Increment </button> <button type={'button'} className={ 'rounded bg-blue-500 px-4 py-2 font-bold text-white hover:bg-blue-700' } onClick={decrement} > Decrement </button> <button type={'button'} className={ 'rounded bg-blue-500 px-4 py-2 font-bold text-white hover:bg-blue-700' } onClick={reset} > Reset </button> </div> </div> </main> );}Testing the application
Finally, let’s test the application by running the following command:
# npmnpm run dev
# yarnyarn dev
# pnpmpnpm devIf everything works as expected, you should see the following output:
Note
You can find the final code for this project on Final Code branch.
Is Context API the same as Redux?
React Context API compared with Redux
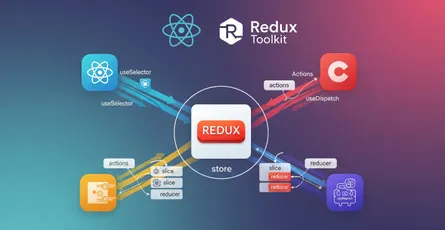
Redux is a well-known state management library, and plenty of React applications use it. It gives you a structured, centralized way to manage application state. So is Context API just a Redux alternative? Here are the real differences between the two.
-
Complexity: Redux is known for strict architectural rules, and that cuts both ways. It enforces one-directional data flow and requires actions and reducers. That helps larger applications and feels like overkill on smaller projects. Context API is lighter and more flexible, with a simpler entry point, which suits applications with modest state management needs.
-
Ecosystem: Redux has a mature ecosystem with many extensions, middleware, and developer tools. It has been tested hard in the field and has a large community with answers for most problems. Context API is gaining popularity, but its ecosystem is not as broad. If you need the more complete toolset, Redux is still the preferred choice.
-
Performance: Redux does well on performance through memoization and efficient state updates. Context API on its own does not optimize as much. Bring in memoization helpers like reselect and useMemo, though, and you can get solid performance out of Context API too.
-
Learning curve: Redux has a steeper learning curve because of its strict conventions and the boilerplate that comes with them. Context API is more approachable, especially for developers new to state management in React. If you want something quick and uncomplicated, Context API is the one to reach for.
-
State size: For applications with large, tangled state structures, Redux gives you a clear, structured approach through reducers and actions. Context API fits applications with smaller and simpler state management needs.
Picking the right tool
The choice between Context API and Redux depends on what your application actually demands. On a small to medium project where you want simplicity and a short learning curve, Context API is a strong choice. For large applications with complex state management needs, where a mature ecosystem earns its keep, Redux is still the better option. Sometimes a mix works best: Context API for simpler local state inside specific components, Redux for the overall application state.
What is the problem with Context API in React?
Understanding the limitations of Context API
The React Context API has real limitations for state management. Here are the challenges you’re likely to run into when using it.
-
Propagation of updates: Context API re-renders every component consuming the context each time the provider’s value changes. With a deep component tree, that means re-renders you didn’t need. Memoization and component-level optimization ease it.
-
No built-in middleware: Redux offers middleware for managing side effects and asynchronous actions, which many applications need. Context API has no built-in middleware, so you either add libraries or write your own handling for side effects.
-
Debugging tools: Redux offers an extensive suite of developer tools that pay off when you are debugging. Context API has some developer tools, but not the same depth, so tracing data flow and debugging issues is harder.
-
Global vs. local state: Context API is mainly designed for sharing global state. If your application needs components with local state that shouldn’t be shared with the whole application, that is less straightforward with Context API. Redux, which can handle local component state, gives you more control there.
-
Handling complex state: For applications with complex state structures, Redux’s reducers and actions offer a clear and structured approach. With Context API you write more code to manage complex state well.
Frequently Asked Questions on Context API
Now that we’ve explored the fundamentals, compared Context API with Redux, and discussed its limitations, let’s address some common questions related to the React Context API:
Can Context API replace Redux for large applications?
It is technically possible, but Context API is usually not the best fit for large applications. Redux’s architecture, middleware, and developer tools are better equipped to handle the complexity often encountered in large applications.
Can Context API and Redux coexist in the same application?
Yes, you can use both Context API and Redux in a single application. Context API handles simpler local state inside specific components, while Redux takes care of global state and complex state structures.
What are some typical use cases for Context API?
Context API works well for global application state: user authentication, theme management, and localization. It also removes the need for prop drilling in deeply nested component structures.
Has Redux become obsolete now that Context API exists?
Redux has not become obsolete. It is still a valuable tool, particularly for large applications with complicated state management requirements. Context API is lighter and friendlier to beginners, but it is an alternative rather than a replacement.
Can functions and methods be shared via Context API?
Yes. Context API lets you share functions and methods, so you can pass behavior across components as well as data.
Conclusion
The React Context API is a solid addition to React’s state management options. It simplifies sharing data between components, removes prop drilling, and manages global application state efficiently. It won’t replace Redux in every case, but it’s a more accessible and lighter alternative, especially for smaller projects and simpler state management needs.
Knowing the strengths and limitations of each tool matters. Weigh your project’s requirements and pick accordingly, whether that’s Context API, Redux, or a combination of both.
References
- React Context API - Official Documentation
- Redux - Official Documentation
- When to Use React Context vs. Redux - LogRocket Blog
- A Guide to React Context API - freeCodeCamp
- Managing State in React with Context API and Hooks - Tania Rascia
- Next.js Documentation - State Management (Note: Next.js docs might not directly cover Context API in depth for global state, but it’s relevant for Next.js projects)
- TypeScript with React Context API - Robin Wieruch
- Understanding
useContextHook in React - DigitalOcean - React Context API vs Redux: Which One Should You Choose? - Simform
- State Management with React Context and Hooks - Kent C. Dodds
- Avoiding Prop Drilling in React with Context API - Medium
- Performance Considerations for React Context API - (Example: Search for articles on this topic from reputable sources like LogRocket, Smashing Magazine, or dev.to)